Survive The Slope Pre-Run Checklist
Upgrades · bone readiness · obstacle focus — tick these before you slide.
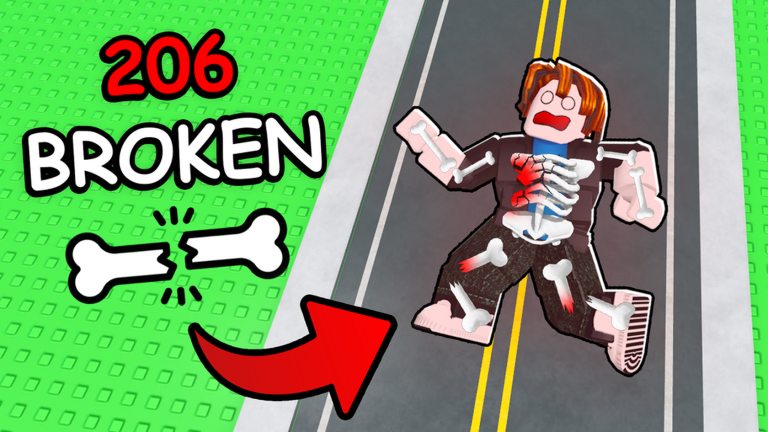
Use this interactive-style checklist before every serious Survive The Slope! run on Roblox. Work top to bottom in the lobby. Survive The Slope! (StarBite Bones, BCH Studios promo) is a physics slope runner: slide, dodge obstacles, manage bone health, earn cash from distance, buy materials, upgrade, and climb leaderboards with up to six players. Skipping prep is the fastest way to repeat the same death.
Parent hub: Tools. After patches, especially the September 2026 Items update, re-walk the entire list.
Quick checklist (tick in order)
Copy these into a note and mark them each lobby:
- Cash spent with intent — at least one upgrade or material tied to my last fail
- Bone readiness — I know what keeps me alive longer this attempt
- Obstacle focus — I named one hazard family to watch extra carefully
- Goal set — practice / PB hunt / relaxed warm-up (pick one)
- UI clear — not distracted mid-redeem or mid-shop when I hit play
- Post-run note planned — I will write one sentence about the fail or success
If any box is unchecked, stay in the lobby.
1) Pre-run upgrades and materials
Distance pays cash; cash buys power. Blind shopping wastes both.
Steps
- Recall your last fail in five words (example: “clip on late spikes”).
- Open upgrades and materials. After Items patches, scan for new entries first (Sep 2026 Items).
- Spend on the option that best answers that fail — survivability, control, or economy — not the flashiest icon.
- Leave a small cash buffer if you are testing a brand-new item so you can pivot after one short run.
- Close the shop and confirm the purchase visually before launching.
Anti-patterns
- Buying every cheap upgrade “because it’s there”
- Ignoring materials that gate your next survivability tier
- Letting Auto-style scripts dump currency (why that’s risky)
New players should skim Getting Started once so shop labels make sense.
2) Bone readiness
When all bones are broken, you lose. Treat bone health like a stamina bar you cannot refill mid-panic.
Lobby checks
- Did my last death come from chip damage over time or one big hit?
- Did I already buy the survivability-oriented upgrades I can afford?
- Am I attempting a PB while still on a fragile early kit? If yes, lower the goal to a practice run.
- Am I calm enough to brake or adjust lane when health is low, or am I tilted from the last wipe?
During the run
- Early slope: prioritize clean lines over greedy speed.
- Mid slope: spend attention on the obstacle focus you chose below.
- Late slope: protect remaining bones — surviving ugly is better than stylish death.
If you consistently shatter early, your checklist failed at the upgrade step, not at “bad luck.”
3) Obstacle focus
Pick one focus per run so your eyes have a job:
| Focus pick | When to choose it | What “success” looks like |
|---|---|---|
| Lane discipline | You clip walls or edges | Fewer scrapes in the first half |
| Spike / hazard timing | One prop type ends most runs | You clear that prop three times cleanly |
| Multiplayer traffic | Lobbies feel chaotic | You keep a safe buffer from other sliders |
| Speed management | You outrun your reaction | You intentionally slow before dense sections |
Say the focus out loud before you start. After the run, score yourself only on that focus plus whether bones lasted longer.
Study clean reference gameplay from the Getting Started guide video, then return to your own controlled attempts.
4) Goal modes
Not every join should be a record chase.
- Warm-up — short run, test a new item, stop after one death lesson.
- Practice — medium run, obsess over the obstacle focus.
- PB hunt — only when upgrades, bones plan, and focus are checked and you feel stable.
Mixing modes without labeling them makes you “fail” warm-ups that were never meant to be PBs.
5) Platform notes (Desktop / Mobile / Tablet)
- Desktop: Easier multi-key control; still clear UI clutter before launch.
- Mobile / Tablet: Stable grip, clean screen, and landscape if it helps depth perception; review this checklist in a browser tab between runs.
- All platforms share the same bone fail state and cash loop — prep quality matters more than input flex.
6) After the run (30 seconds)
Write one line:
Fail: <reason> | Next buy: <upgrade/item> | Next focus: <obstacle>
Then open shops with that sentence in mind. This closes the loop the Tools Hub exists for.
Optional: codes and updates gate
- If a verified code exists, redeem in lobby first (How to Redeem) — as of Sep 2026 research, the Codes Hub still shows none verified.
- If Roblox just updated the experience, skim Updates before a PB hunt.
Related pages
- Tools Hub — other planners as they launch
- Guides Hub — deeper tutorials
- Updates Hub — patch-driven checklist changes
- Scripts Hub — not part of this checklist; avoid ban risk
Tick every box once, then slide with intent. The slope is hard enough without fighting your own unspent cash and unset focus.
Frequently Asked Questions
Quick answers about sliding farther, upgrades, and codes.
How long should the checklist take?
About one minute in the lobby once you know the steps. Skip nothing before a personal-best attempt.
What if I keep dying to the same obstacle?
Set that obstacle as your only focus, buy the upgrade or material that best addresses it, and run practice mode until clears improve.
Should I use scripts with this checklist?
No. The checklist is for legitimate prep. Scripts risk bans and often mis-spend cash after Items updates.
Do I need a new checklist after the Items update?
Re-scan shops and rewrite your buy priority after the September 2026 Items update or any later patch, then reuse this same structure.